My EzCast has served me well. I have been using its DLNA feature to stream content from my tablet to TV. However, time has changed and I am now facing limitations.
- My old EzCast & Dell Venue 7 only supported H.264 decoding & streaming and cannot handle streaming of large files. This is understandable as my EzCast and Dell Venue are from 2014. They were fine for that time. They both don’t support HEVC codec which gives same quality as H.264 at half the file size.
- My Dell Venue’s internal memory has received many writes over the last 2.5 years due to which it is now slowing down.
The way I consume my content now is…
- Download from torrents.
- Copy from friends in Pen Drive.
- Copy from friend’s phone to device using ShareIt and then play on TV.
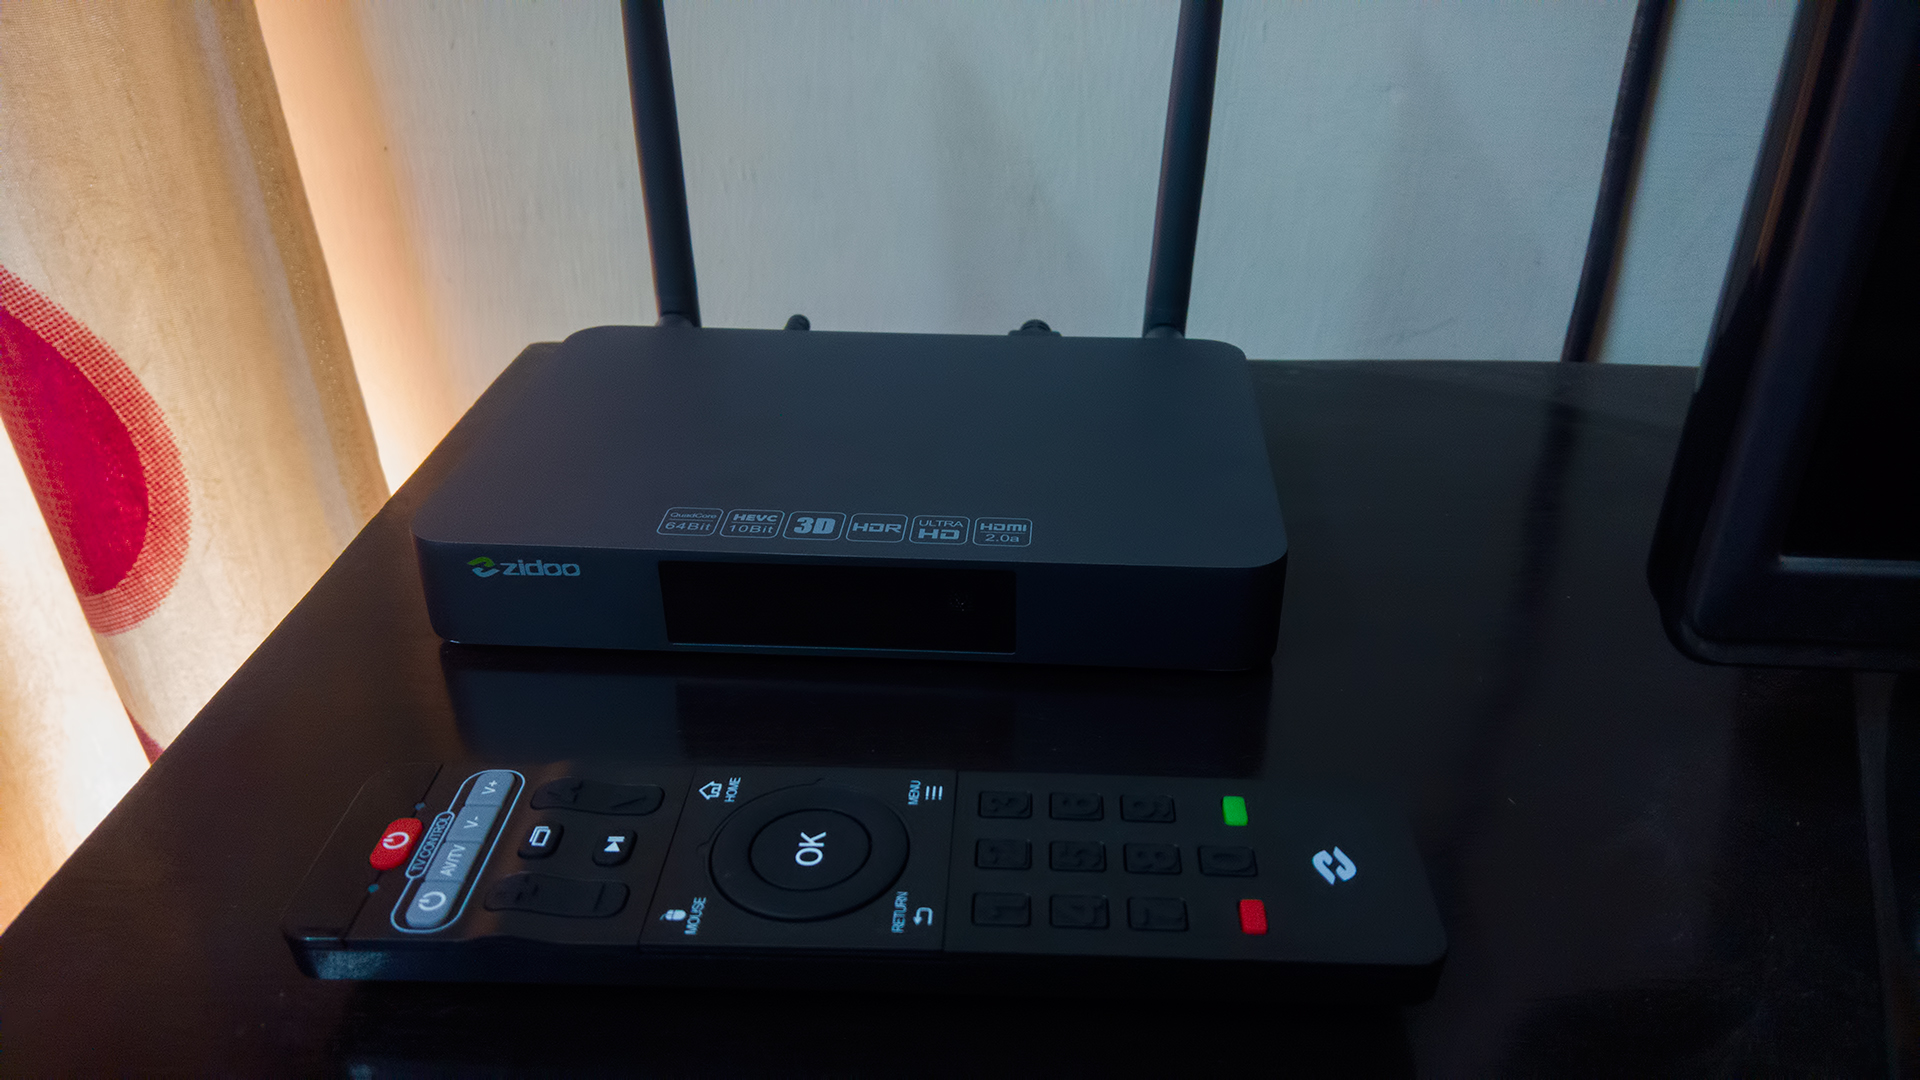
For such needs Zidoo X9S fits well.
- I can download content from Torrent directly in Zidoo X9S in SD card using Flud.
- I can plug in a pen drive with videos and start playing immediately.
- I can use ShareIt to take a video/music/pictures from someone’s phone and view.
- I can use a remote control to navigate. This also makes it easier for my wife to play content as it is easier for her to navigate this UI.
- I can play any kind of video or audio file and it will play unlike EzCast where high bit rate files had problem during playback.
- Support for Kodi which gives a true media center experience.
- Ability to record TV as Zidoo X9S supports HDMI in.
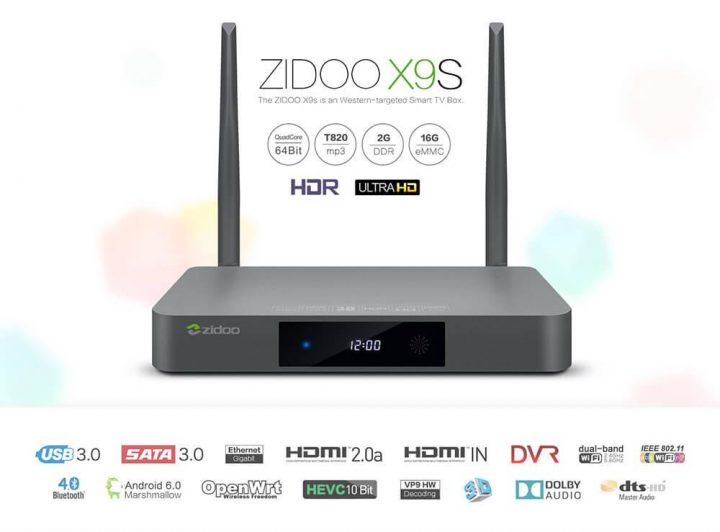
- It is 4K ready so it is also future proof.
- It supports Dolby audio pass through.
- I can install regular apps like Wynk Music, Wynk Movies, TVFPlay, Voot etc which will think that they are running on a tablet and play content on TV directly. Keep in mind that not all apps are optimized for a tablet/TV and may not work with a remote control.
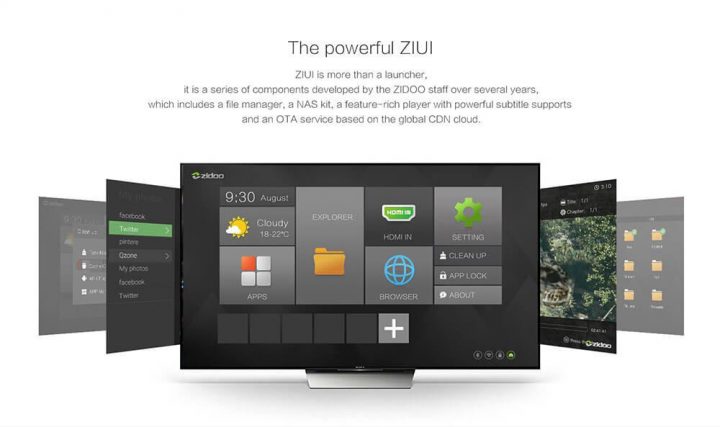
- ZIUI is a TV optimized interface.
- Use OpenWRT to use Zidoo X9S as a full fledged Internet router with 802.11ac at 5 Ghz.
As expected, it is based on AOSP Android 6.0 Marshmallow hence it comes without any Google app. You can manually install Google Photos, YouTube etc. I prefer it this way as I can actually use only those Google apps I need.

Launcher
Zidoo UI is a good TV centric UI. You can customize the apps on launcher.

For even further ease of use, I installed an app called TV Launcher by Awesome Development. Zidoo UI is more functional but TV Launcher is more ‘casual’ user friendly due to big, easy to recognize tiles. My wife loves it. I have set it to show only the required apps.

Downloads
I use Flud to download torrents in Zidoo. Flud is optimized for Remote control.

Storage
Inbuilt memory in Zidoo X9S is 16 GB. This device supports maximum 32 GB SD card. I purchased a Samsung Evo+ which gives me 20 MB write speed easily. Copying files from pen drive to SD card is quick. The inbuilt file explorer is enough for all your file management needs.
I suggest you first connect SD card to a PC and format it as NTFS. Zidoo X9S has inbuilt support for NTFS drives. NTFS Format is better as you can save files larger than 4 GB which is not possible in FAT32. NTFS is also faster than FAT32.

Video Playback
The inbuilt Android AOSP Video player has received an Zidoo overhaul. It is able to handle any video format you can throw at it. It even supports automatic downloads of subtitles.
Although you can install MX player or any other video player from Play store, I will recommend not to. In my testing with proper 5.1 channel speaker system, I found that MX player is not able to decode the DTS audio in many videos properly even with custom codec. Zidoo’s video player was able to decode and play them beautifully the way it should. Zidoo’s video player is meant for this hardware while MX player is a generic player which loses out on many details.


For YouTube, it is a bit tricky. The Android phone/tablet app for YouTube which you get in Play Store is not optimized to be used with a Remote Control. Good thing is that there is an app ‘Smart YouTube TV” which gives a TV optimized interface for YouTube and it can also be controlled using Zidoo’s remote control.
One good thing about this app is that you can cast YouTube videos from your Android/iOS/Windows 10 mobile app to this app by adding this TV in your phone’s YouTube app. So now during a get together even my friends can queue videos on YouTube on my TV by adding my TV to their phones.
Or, you can use the inbuilt HappyCast app to play content on your TV via DLNA.
Apps
Technically, you can install any app from Google Play store on Zidoo X9S but not all apps are optimized for a TV’s interface and remote control. You can also install apps like TVFPlay, Voot etc. Do send feedback to developers of your favorite app to optimize it for TV.

Sharing Files
- You can install Flud and download torrents directly to Zidoo X9S.
- You can connect a Pen Drive to this box and copy/paste files.
- You can send files to and from this box via ShareIt, Xander etc
Network share
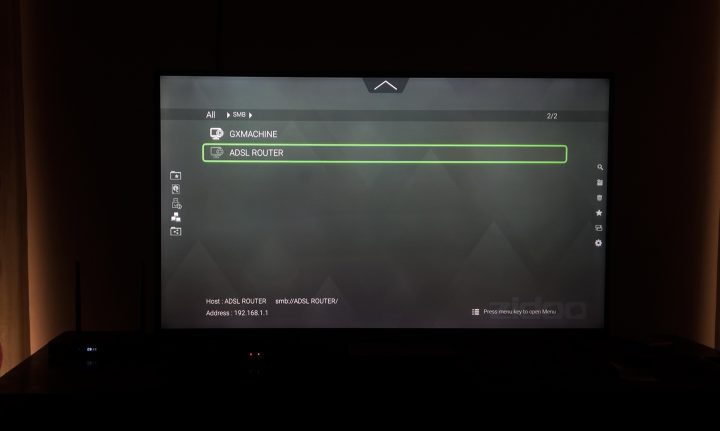
Zidoo X9S can access network share over Samba and NFS using its inbuilt explorer. Windows 10 uses Samba sharing by default, you can read how to share a folder in Windows from here.
After this, just go to Explorer in Zidoo X9S -> Left tap on remote control -> Select SMB and it will show folders shared.


I have a TP Link W8968 Router which has a USB port so I just connected an external hard disk to it, enabled Storage sharing in Router settings and it showed them too.

And guess what, it is a Miracast device too so even Continuum works from my Windows Phone.

You can also connect a keyboard and mouse to this box and work on it like a computer.
The inbuilt apps are enough to start with. If you need a Media center app then Zidoo provides a customized version of Kodi called Zidoo Media Center (ZDMC). It is just Kodi (Jarvis) with Zidoo bundled optimizations. I don’t use it much as I don’t use streaming media or library.
Overall, Zidoo X9S is a very good Android TV box which can be used for next 5 years easily and can be used with 4k TV in future when 4k content becomes more mainstream.
Update: Based on questions…
I purchased this from AliExpress for $ 139 after $ 10 discount. This is their top most model with Dolby Atmos passthrough etc.
However, majority of population does not need all the features provided by Zidoo X9S and will never be able to use it anyway. For a simple and less costly alternative you can buy Zidoo A5S from AliExpress for around $ 90.
Zidoo A5S runs the same software as X9S with same hardware decoding etc. Difference in hardware is as follows
- Zidoo X9S can use an internal SATA hard disk with a bundled connecting cable. A5 can not. But this has no real world usage. If you want to use an external hard disk, just connect a external USB Hard disk to A5S.
- Zidoo A5S has 2 USB 2.0 ports. Zidoo X9S has 2 USB 2.0 + 1 USB 3.0 port.
- Zidoo X9S has HDMI in so you can do recording from any HDMI source such as TV.
- Zidoo X9S has external antenna. This won’t matter if your TV area gets good WiFi.
Zidoo A5S is available for $ 79 on AliExpress with $10 discount included from seller Unipro. This translates to around ? 5,400 as per today’s exchange rates. For something which you will use every day for next 3+ years, the cost comes to be around ? 5/day assuming you or your kids don’t break it.